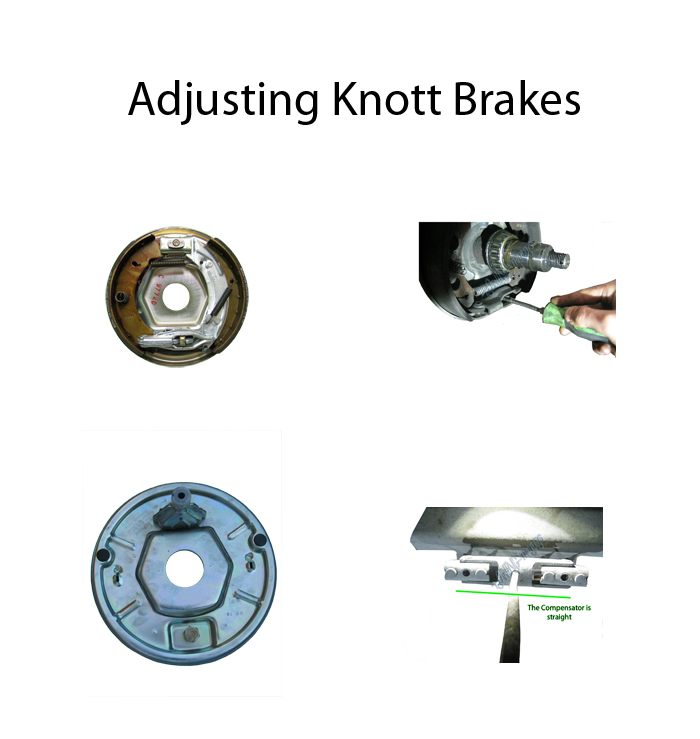
Adjusting Al-Ko Brakes
This guide is for adjusting Al-Ko trailer brakes. When adjusting brakes you must always start from the Wheel and work forwards.
Adjusting Al-Ko Brakes
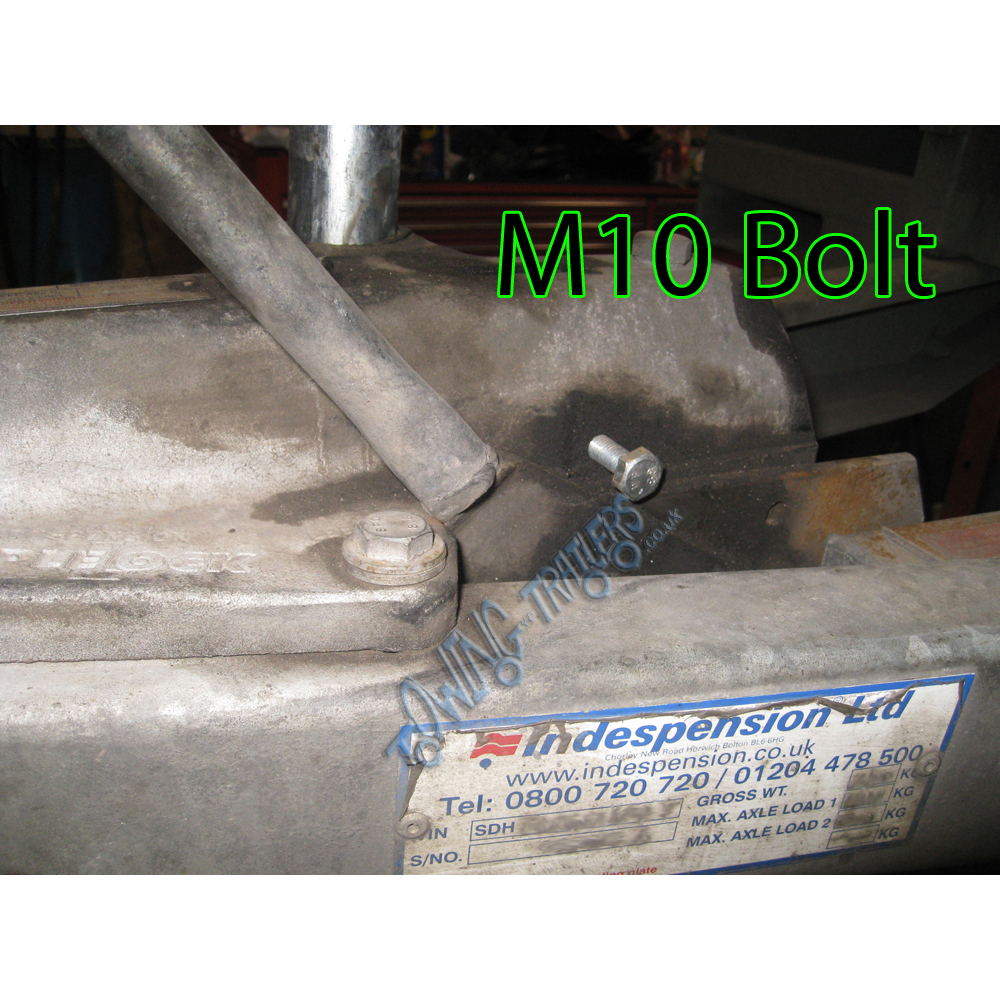
Note-Before beginning your Brake Adjustment it is important to strap your handbrake down onto your Coupling. Or, with Indespension, insert an M10 Bolt into your Coupling. This is to prevent injury whilst carrying out your Brake Adjustment. The image below is showing the place where an M10 Bolt should be inserted into an Indespension Coupling.
Securely lift your Trailer off of the ground to give you easy acces to your Brakes and Brake Cables.
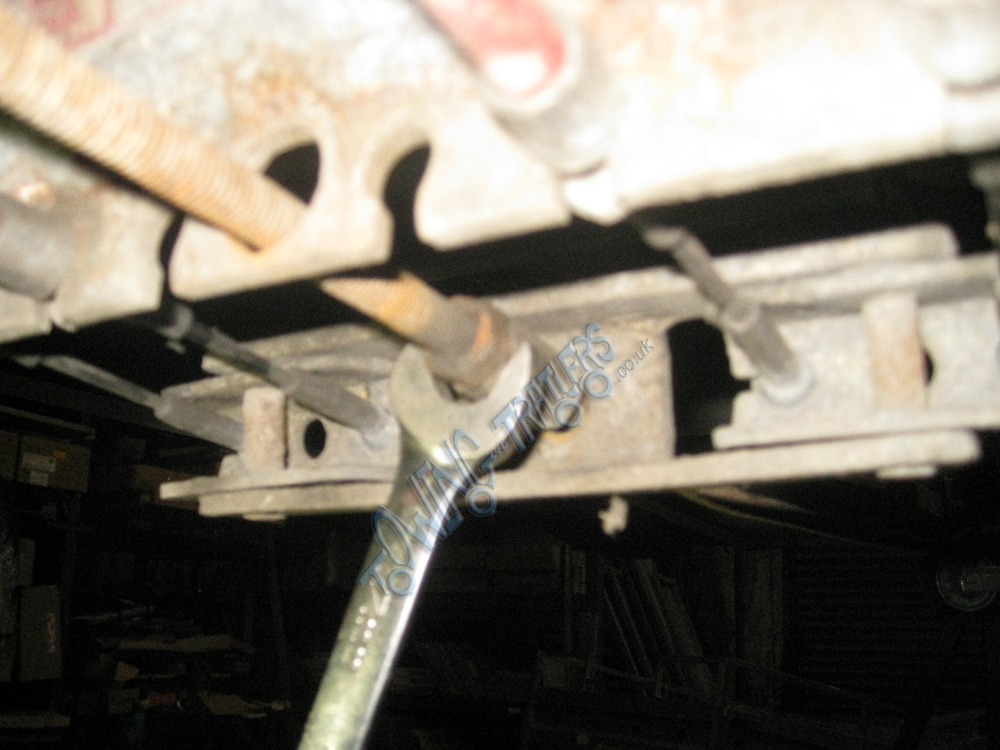
You need to make sure that all moving parts (Brake Link, Brake Expander and Brake Rod) move freely. Any parts that are seized will need replacing otherwise corrosion will continue to progress leading to re-seizing of parts. The image below is demonstrating how to loosen the Brake Rod.
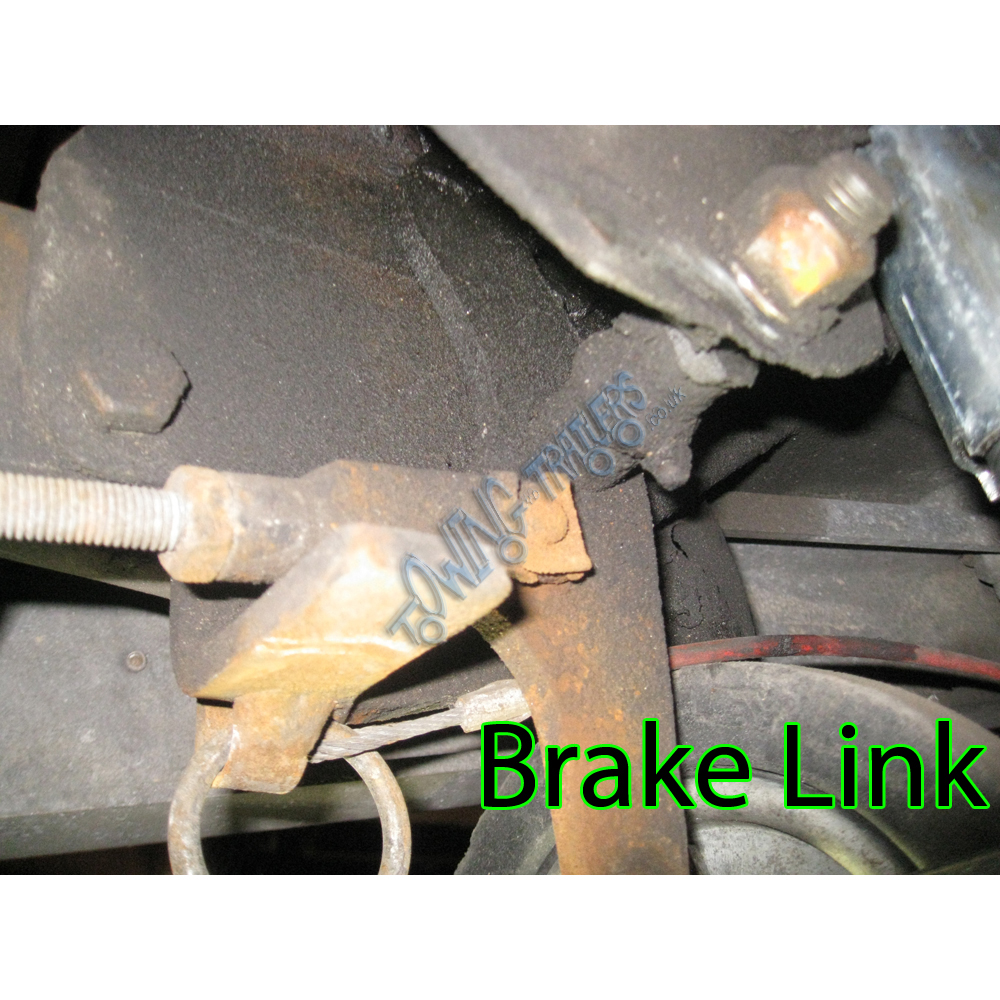
The Brake Link needs to have at least 5mm of ‘play’ for adjusting Brakes. The image below is showing the Brake Link which has 5mm of ‘play’.
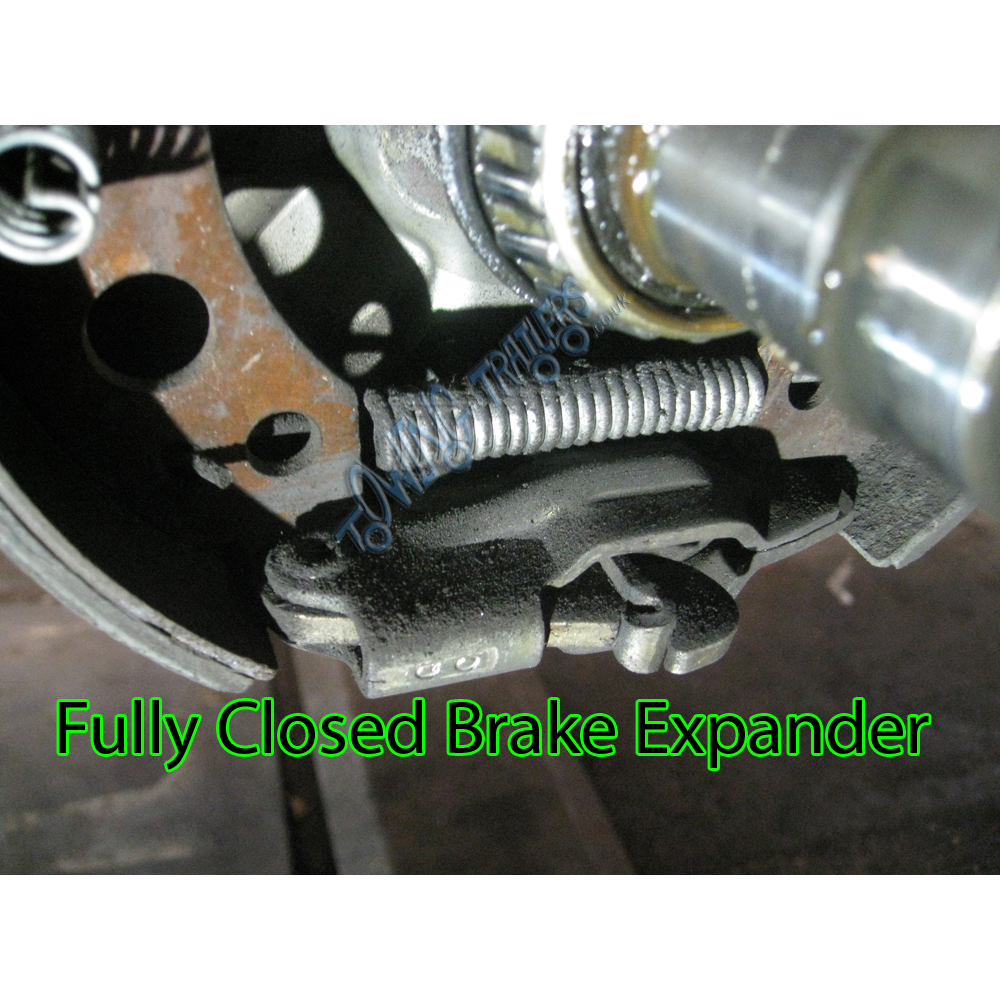
Your Brake Expander must be fully closed when adjusting brakes. The image below is showing this.
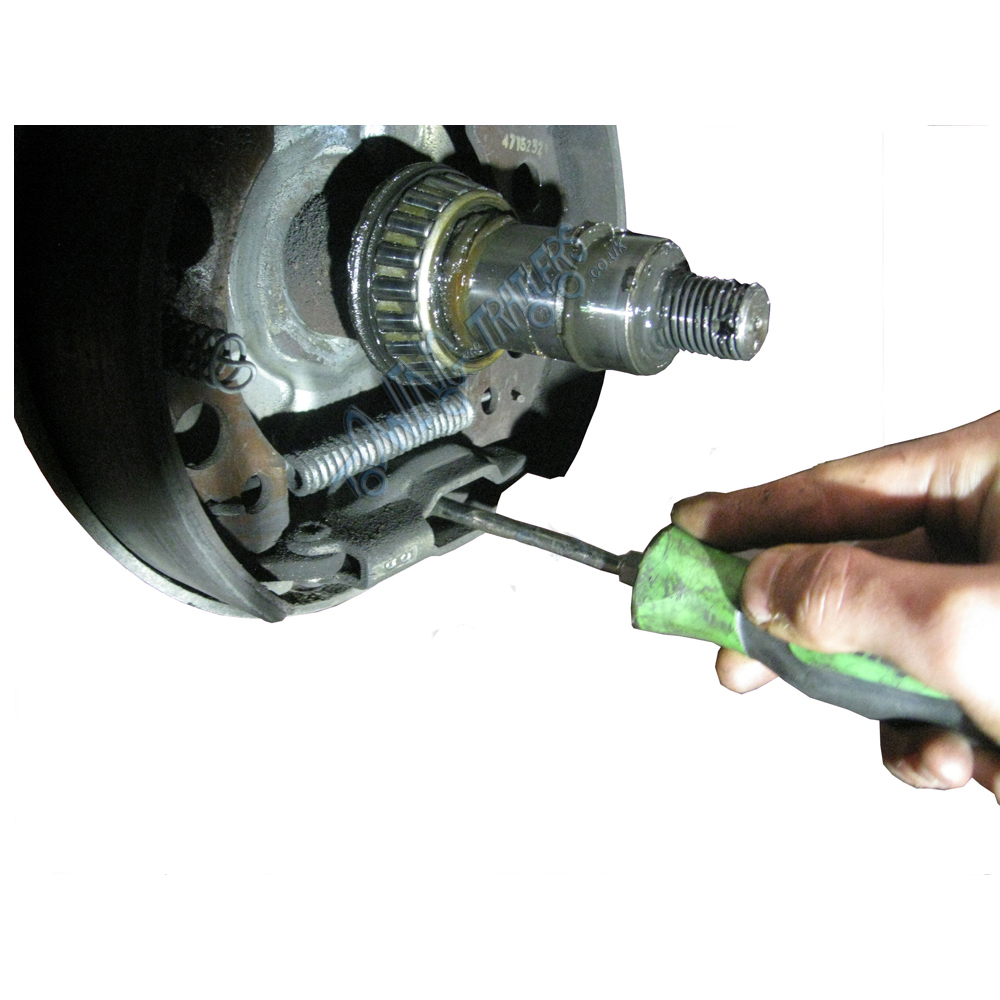
To check for movement in your Brake Expander you simply apply pressure to the expander with a screwdriver and it should press inwards and then spring quickly back. The image below is demonstrating this method.
All of the above being well, you can then begin the Brake adjustment Procedure.
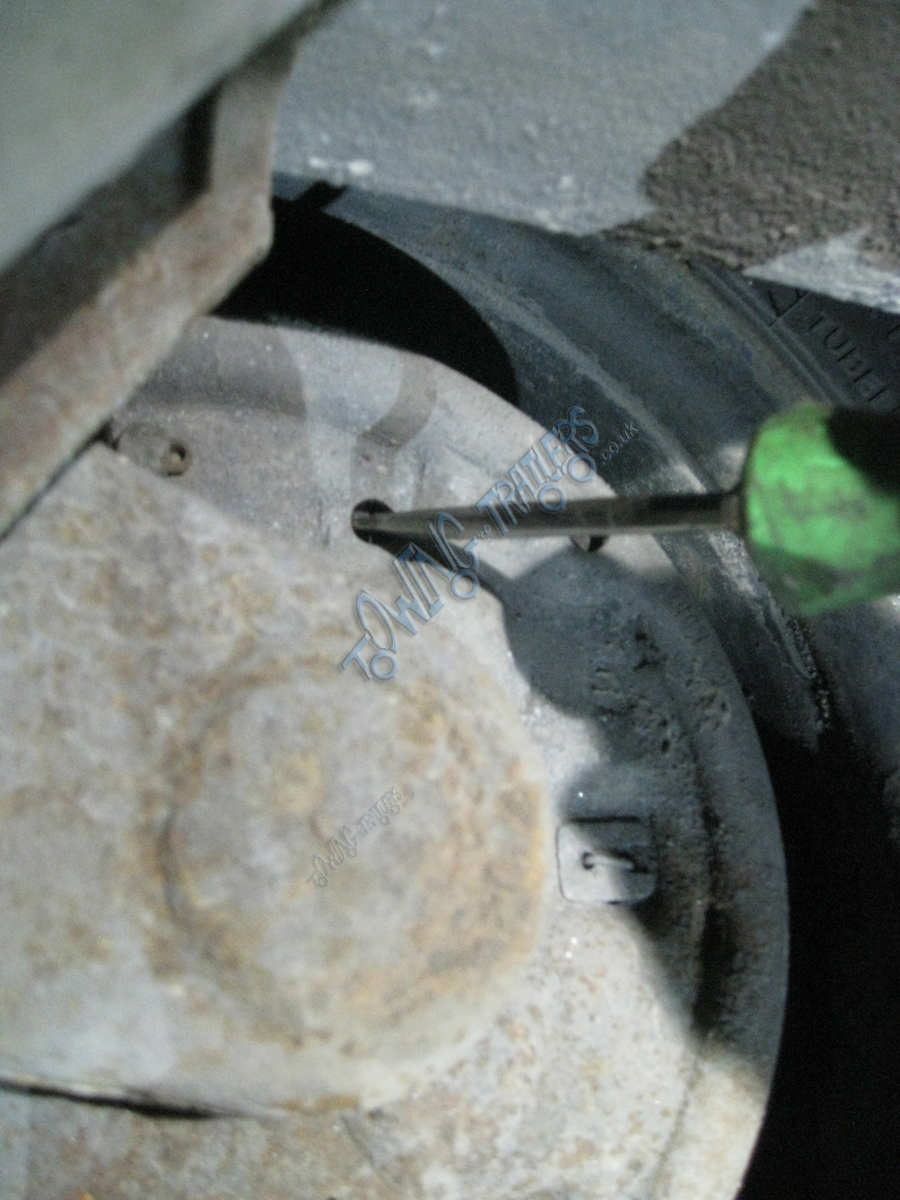
Start by removing the green plastic plug that is on the back of you Brake. These are shown in the image below.

Then you will need to take a Flatbed Screwdriver, put it through the whole where the plug has just removed and rotate the adjuster in accordance to the arrow that is shown on your Brake.
The image below is showing the the arrow for direction of adjustment.

You will feel your brake clicking as you rotate the adjuster. Keep doing this until the wheel locks and it can no longer be pushed forward with heavy force. Once you reach this point, you need to rotate the adjuster in the opposite direction, but only until the wheel slackens and can be span approximately one and a half rotations freely.
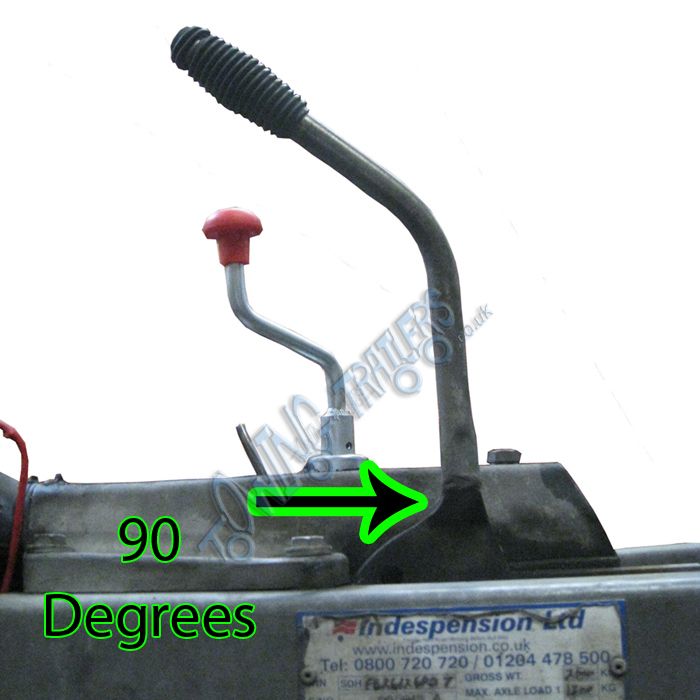
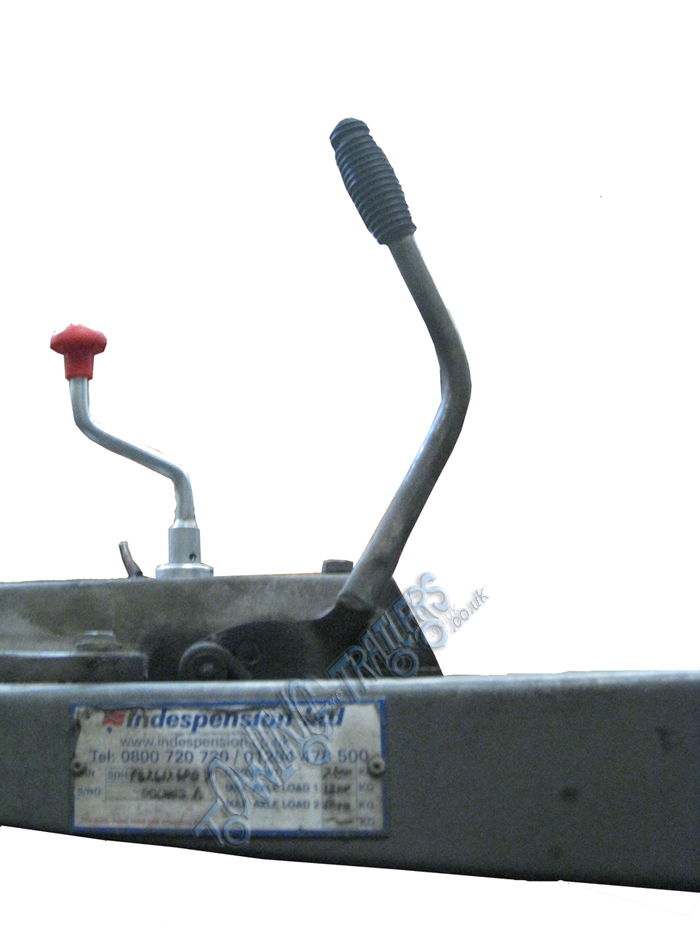
Once this is complete, you need to adjust your main Brake Rod. To do this you need to re-tighten the nut you loosened at the very start of this procedure, keep altering the tightness of the rod until, when tested, the Handbrake sits at a comfortable 90 degrees angle when pulled up. See image below.
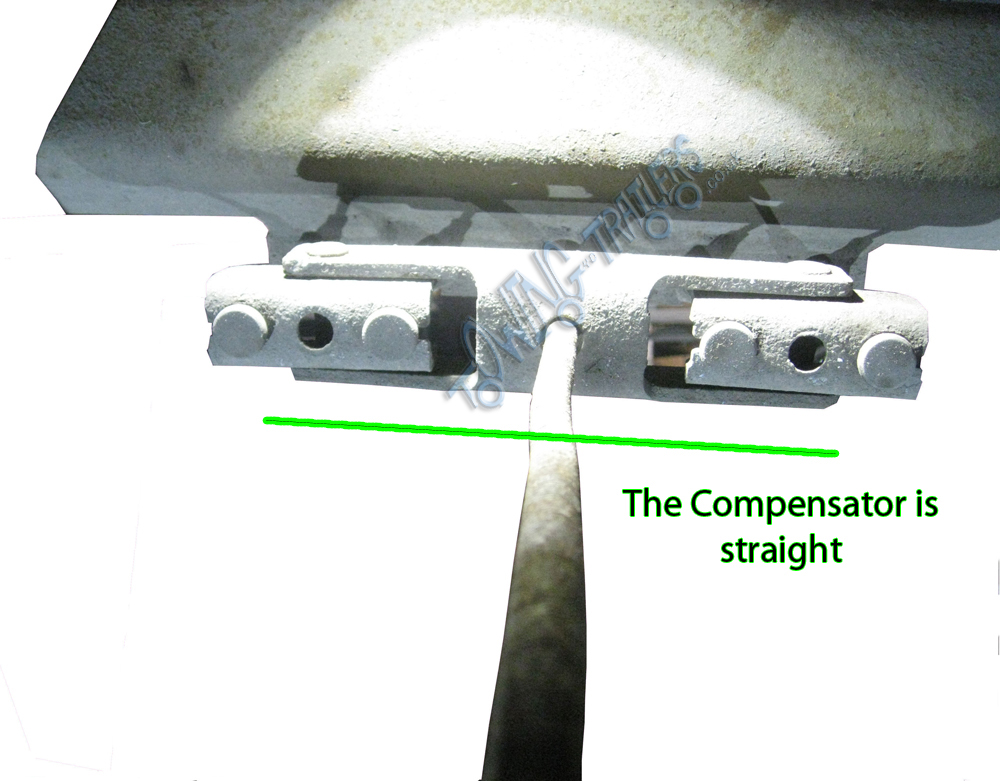
You will also notice that your Brake Compensator is inline and should not be sagging or looking ‘weighed down’ at one end. If you Compensator is sagging, you will need to go back and check your brake adjustment.
Finally, whilst the Handbrake is on, push all the wheels on your Trailer backwards as far as they’ll go. The handbrake should then move even further back.
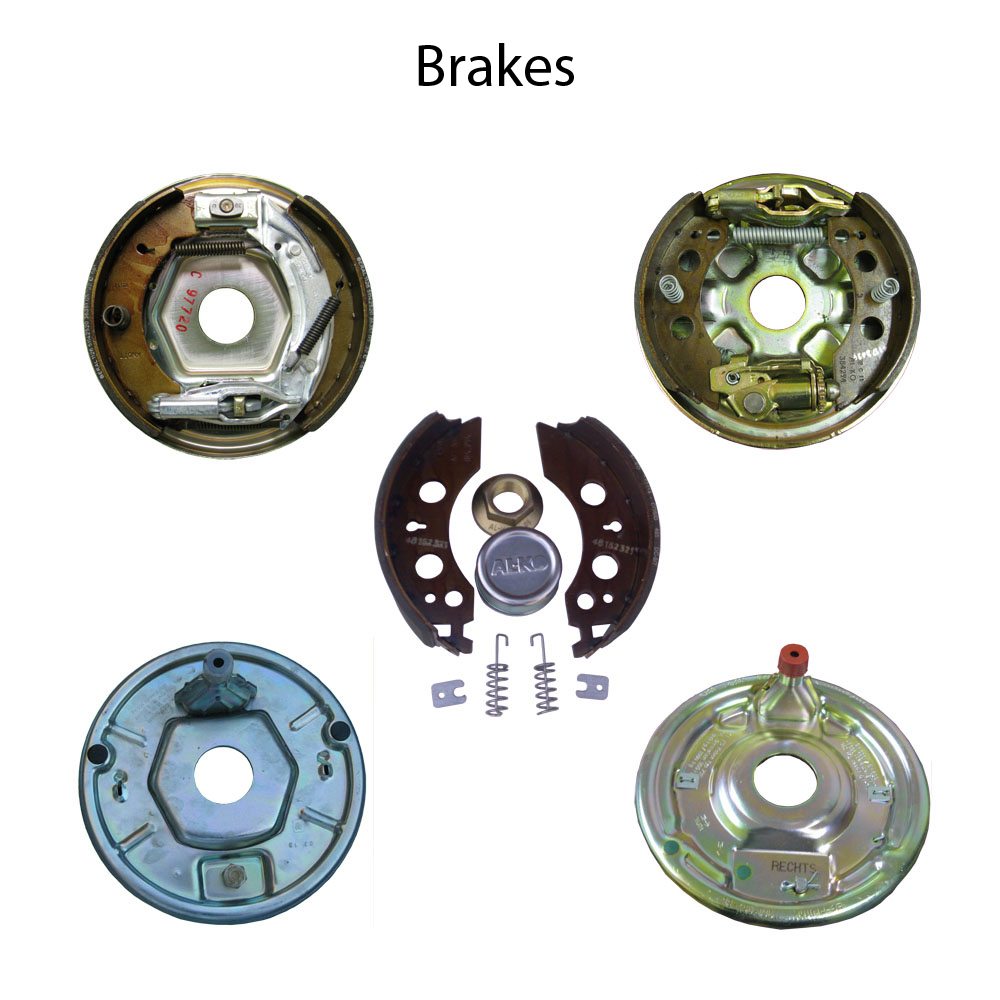
The Different Sizes of Brakes available
| Knott | Al-Ko |
| 160mm x 35mm | 160mm x 37mm |
| 200mm x 50mm | 200mm x 35mm |
| 203mm x 40mm | 200mm x 51mm |
| 250mm x 40mm | 230mm x 61mm |
Click below to buy Brakes or for adjusting Knott Brakes
 |
