Replacing a Bradley Damper
Replacing a Damper-Bradley Coupling
Trailers with a 48mm Drawtube have 19mm bolts, this is the same with most Couplings up to 2750KG. On Couplings over 3000KG, plus Pole Couplings which have a 60mm Drawtube, the bolts are 22mm.
Step 1 – Remove the Bolt at the rear of the Coupling as shown in the diagram below
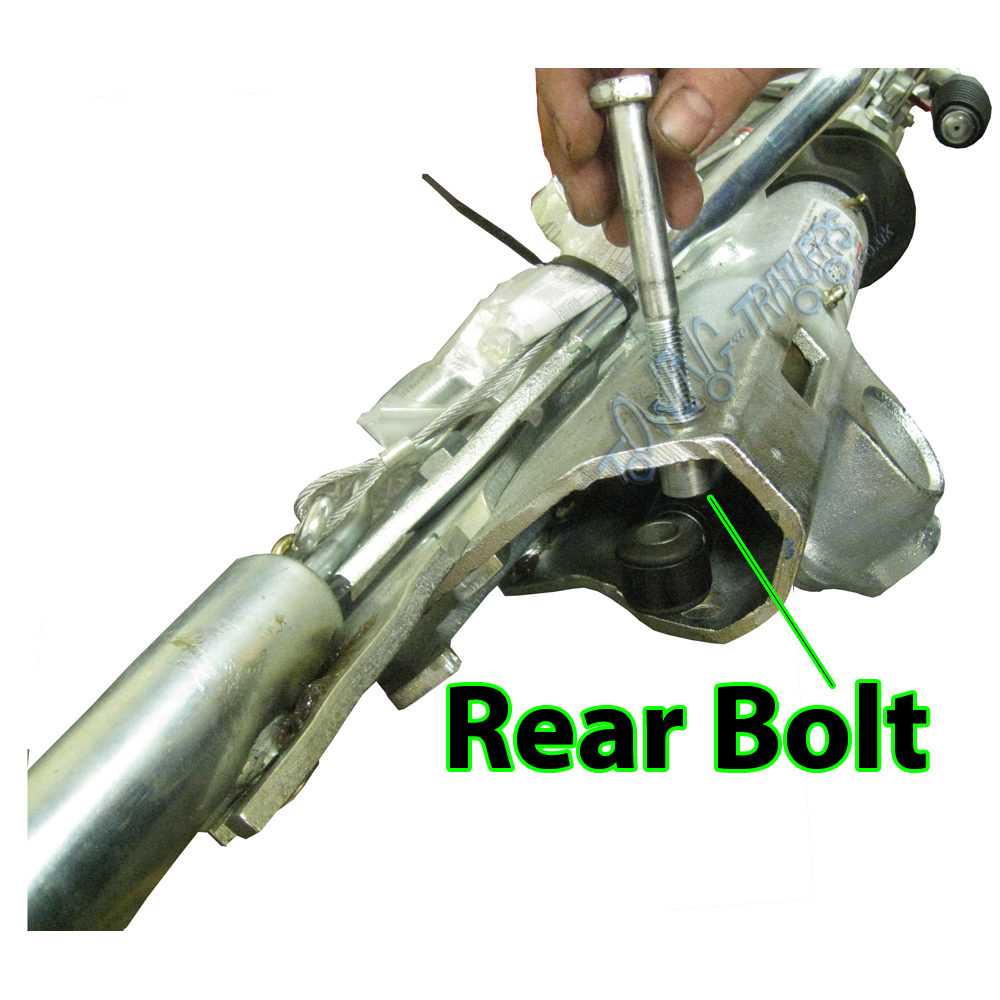
Step 2 – Then, remove the back bolt of the Coupling head

Step 3 – Pull the Damper out from the rear of the Coupling
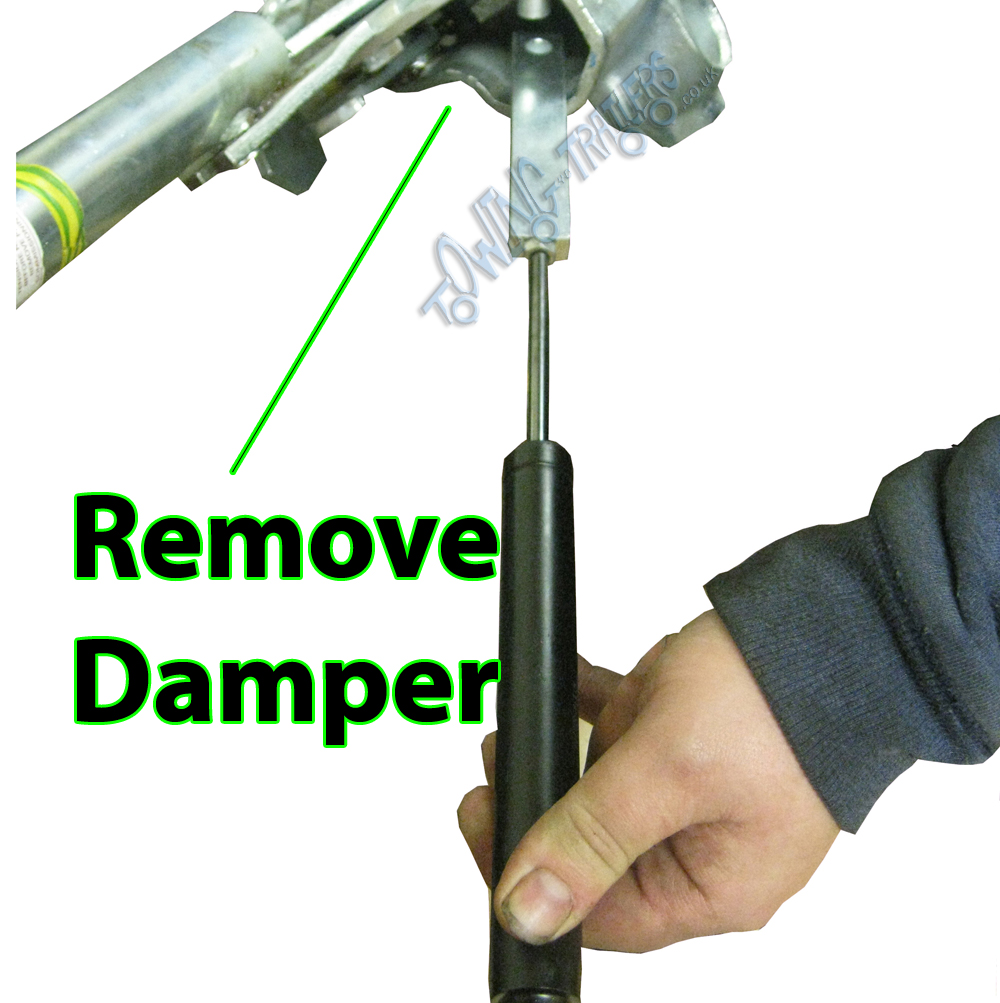
Step 4 – Unscrew the Damper Extension and keep this to one side. (Note that Damper Extensions are not fitted to 2000kg or 2750kg Couplings)
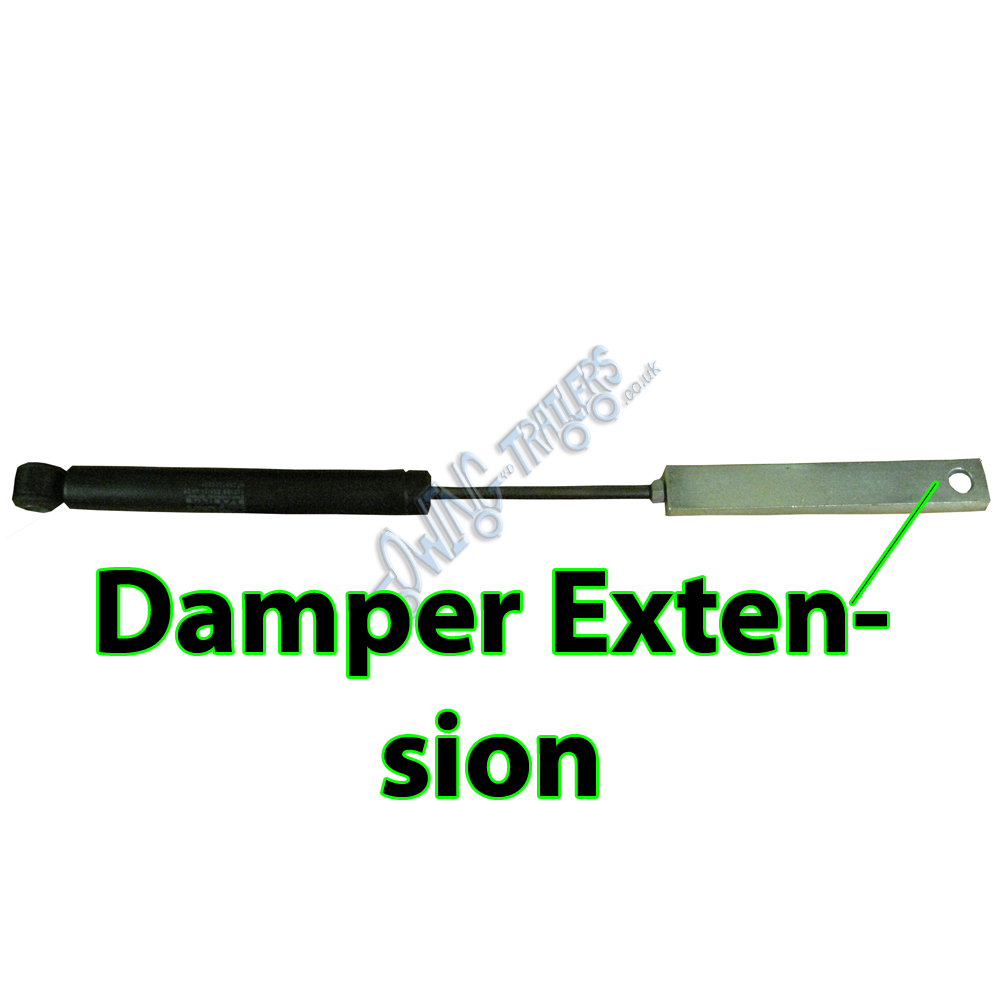
Step 5 – Measure the distance between the nut and the end end of the Damper.
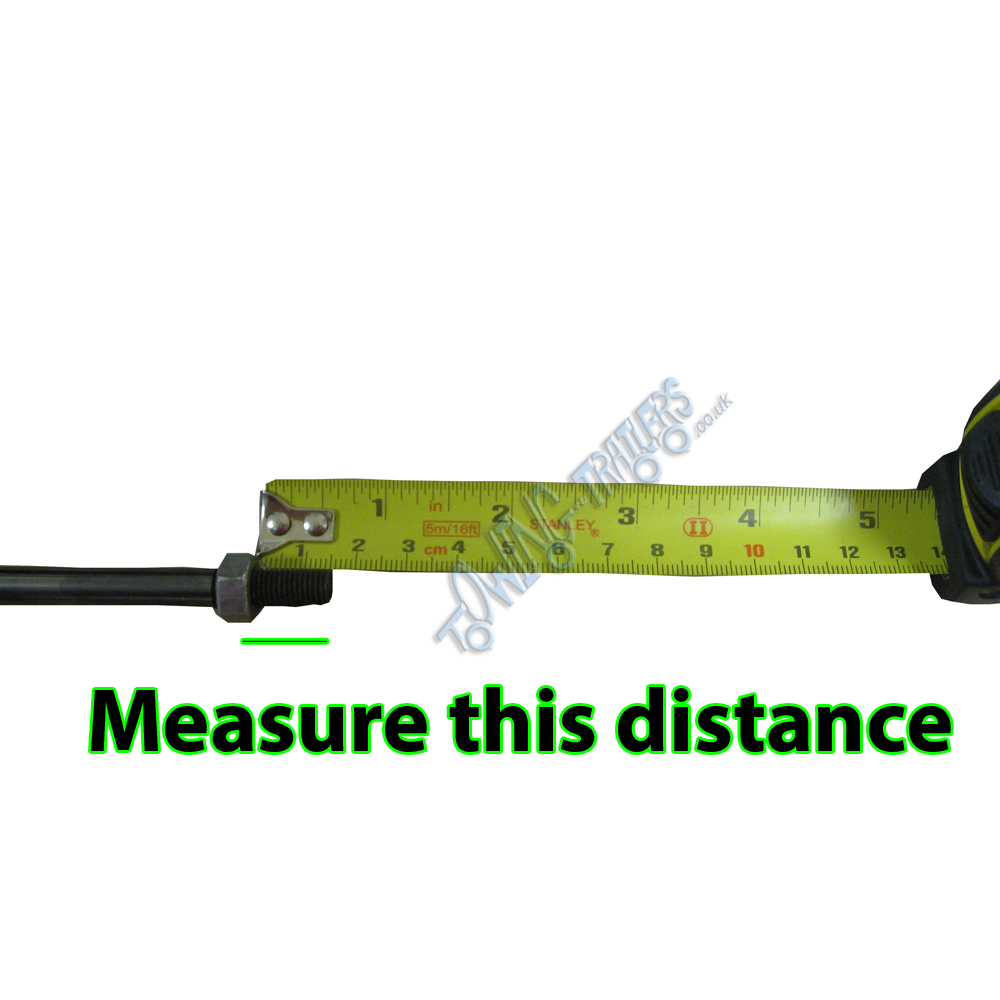
Step 6 – Screw the Extension into the new Damper making sure that the distance between the nut and the end of the Damper is the same as when measured. Lock the extension in place with the nut using a 13mm spanner. (Use a 13mm spanner for this on all Couplings other than 3500kg) When this is secure, feed the new Damper back into the Coupling from the back.
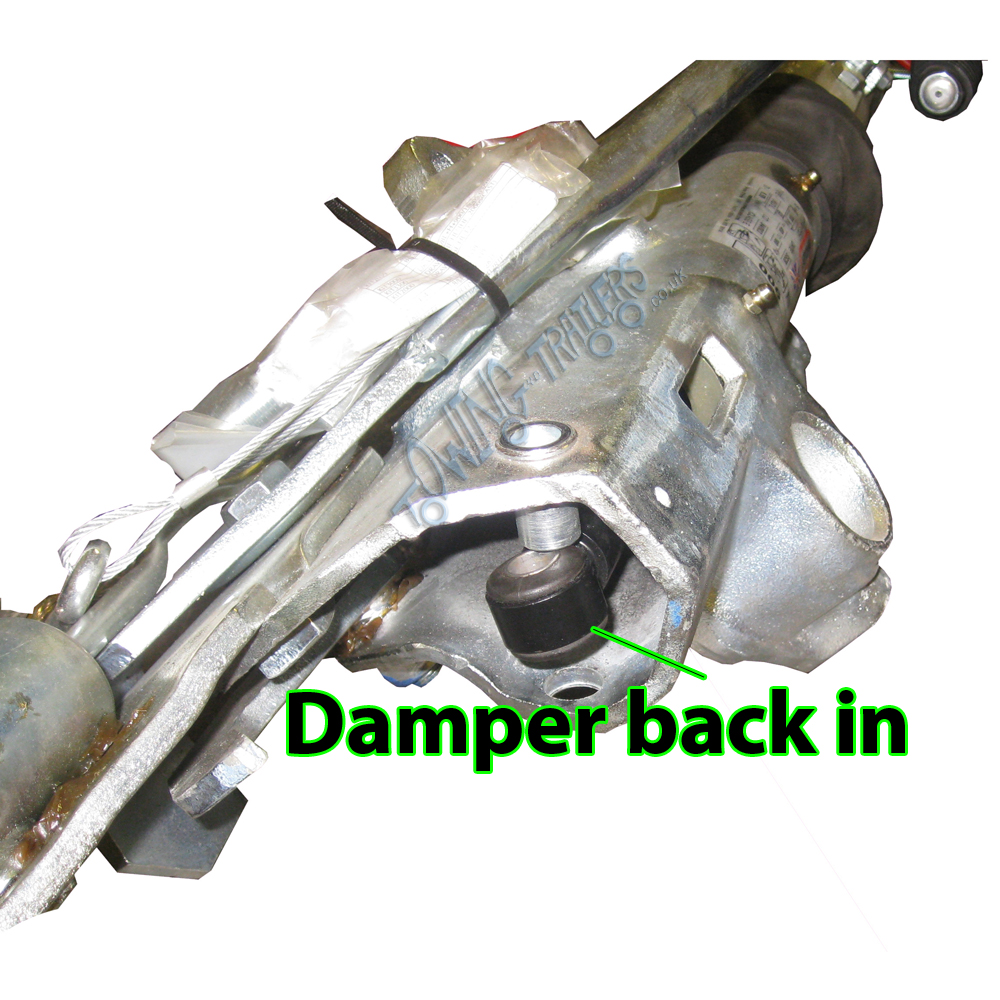
Step 7 – Place the front bolt back in the Couping first, line up the holes and screw the bolt securely in.
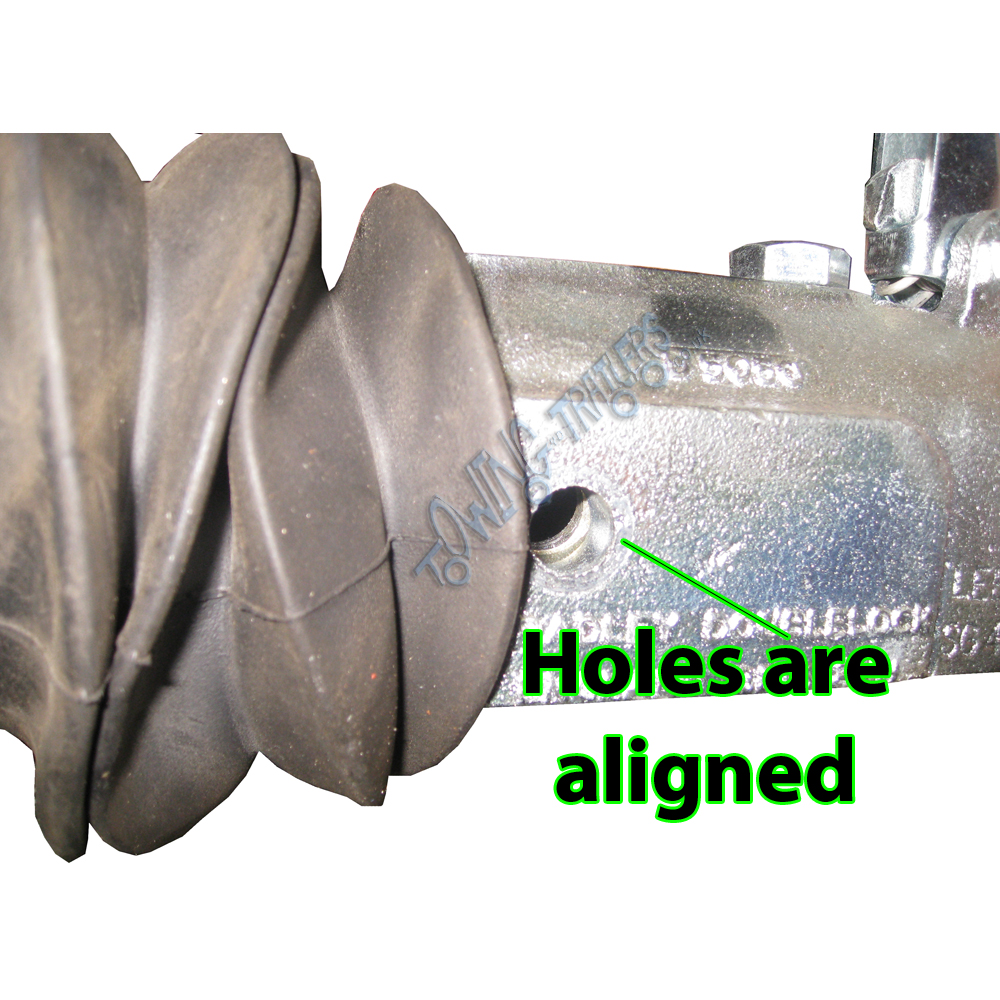
Step 8 – Make sure your Coupling Head is fully extended as demonstrated in the diagram below.

Step 9 – Place the bolt back in the rear of the Coupling.
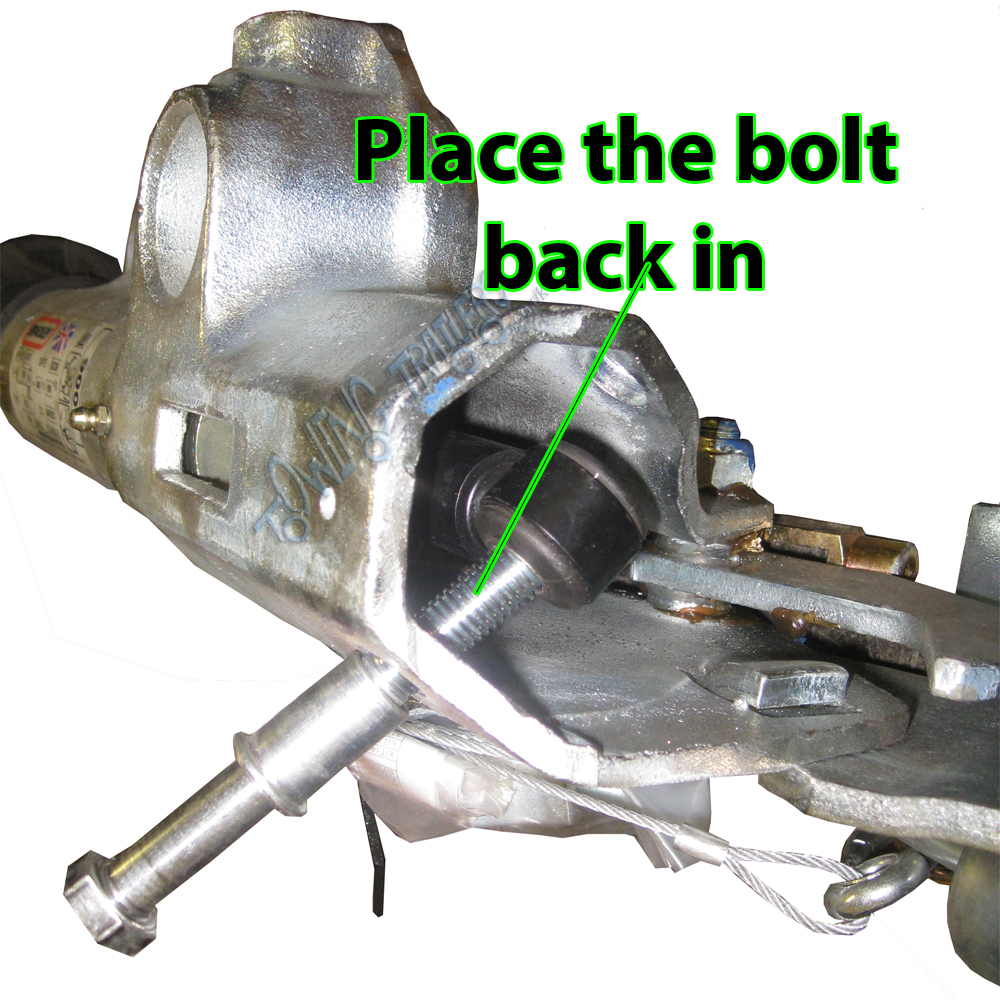
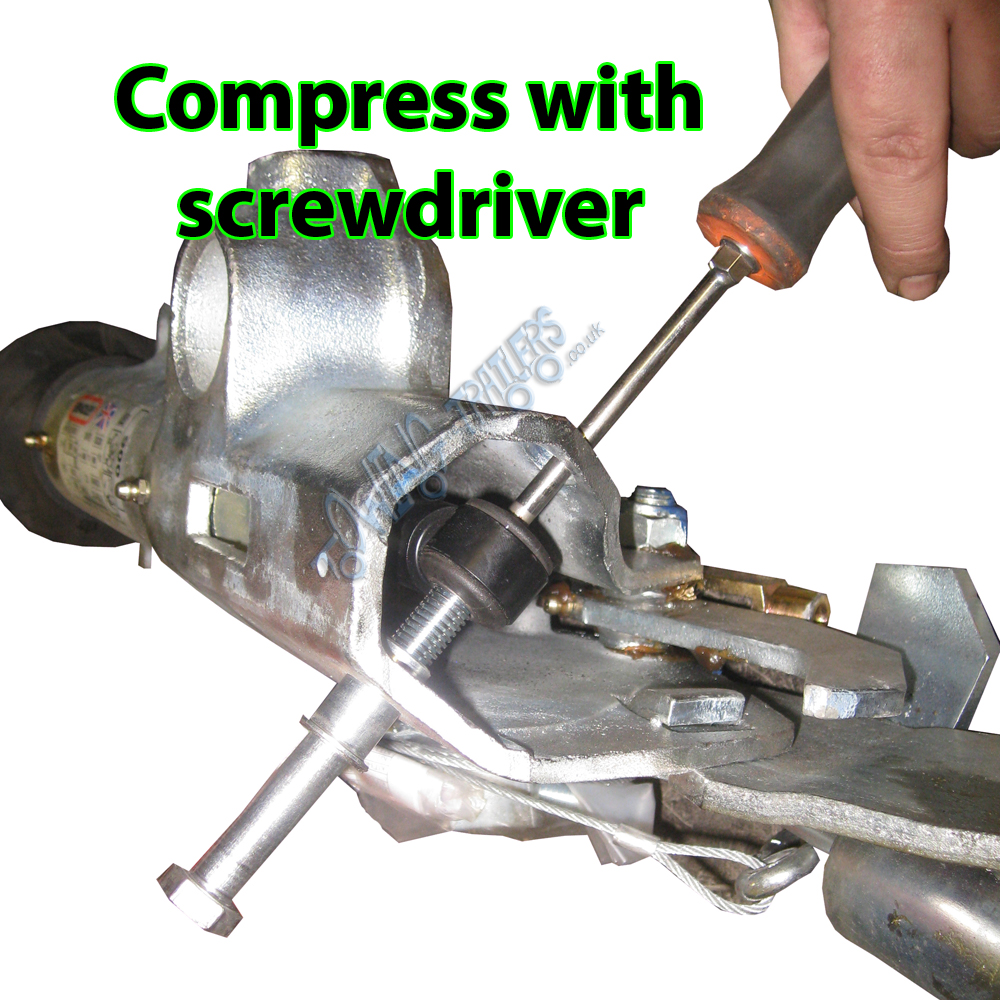
Finally – As the Dampers for Bradley Couplings are made too long for the coupling, you will need to insert a screwdriver from the opposite hole to the bolt and compress the Damper and Nut. Then securely screw the bolt back in to the Coupling.
For instructions on Replacing a Knott Damper, click the link below
